FreeCAD: How to build on Windows?
Requirements
- git (In this example, version 1.7.11.msysgit.0 is used.)
- Visual Studio 2008
- Cmake (In this example, version 2.8.11.1 is used.)
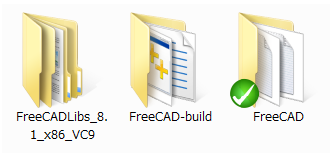
- FreeCAD Libpack (In this example, FreeCADLibs_8.1_x86_VC9.7z is used.)
Useful tool
- Tortoisegit (GUI frontend of git)
Environment for building
- Visual Studio 2008 Express SP1
- Windows7 Professional SP1 (64bit)
Build steps
Start comand prompt.
Create working folder at your convenient place and move to it.
-
Clone FreeCAD's newest sorce code by a following command. In this example, we use souce code rivision "fe19cb09cc7a07629ae224a64f58167780284987".
>git clone git://free-cad.git.sourceforge.net/gitroot/free-cad/free-cad FreeCAD - Expand FreeCAD Libpack and put FreeCADLibs_8.1_x86_VC9 folder into your working folder.
-
Create Visual studio solution for building by following commands.
>mkdir FreeCAD-build
>cd FreeCAD-build
>cmake -D FREECAD_LIBPACK_DIR:PATH="(Full path of your working folder)\FreeCADLibs_8.1_x86_VC9" -G "Visual Studio 9 2008" ../FreeCAD
 In working folder
-
Click FreeCAD_trunk.sln in FreeCAD-build folder and start Visual Studio.
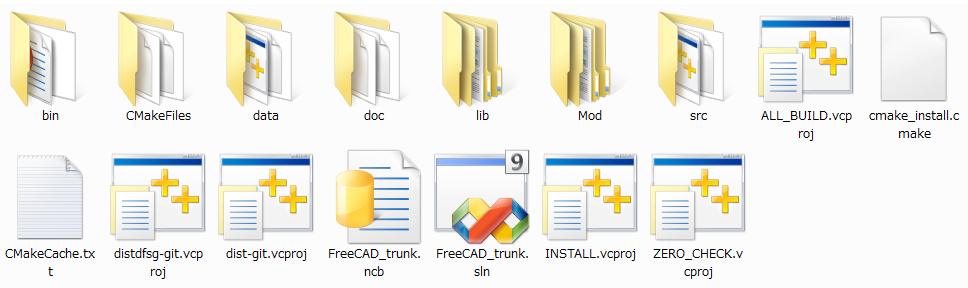 In FreeCAD-build folder
Confirm that ALL_BUILD is selected at Solution Explorer and start building by selecting [Build]-[Build Solution] in menu bar
If your development environment is not English, Many warnig(warning C4819) may be displayed. Be that as it may, building process will be normally completed in about 10 minutes(I used Intel Core i7-2600 3.4GHz 8core CPU).
Copy all files and folders in FreeCADLibs_8.1_x86_VC9\bin folder to FreeCAD-build\bin folder
At Solution Explorer, right click FreeCADMain and set it to Startup Project.
Click [Debug]-[Start Debugging] in menu bar and start FreeCAD that you build.