FreeCAD: Tutorial Tablet stand (1/3)
Summary
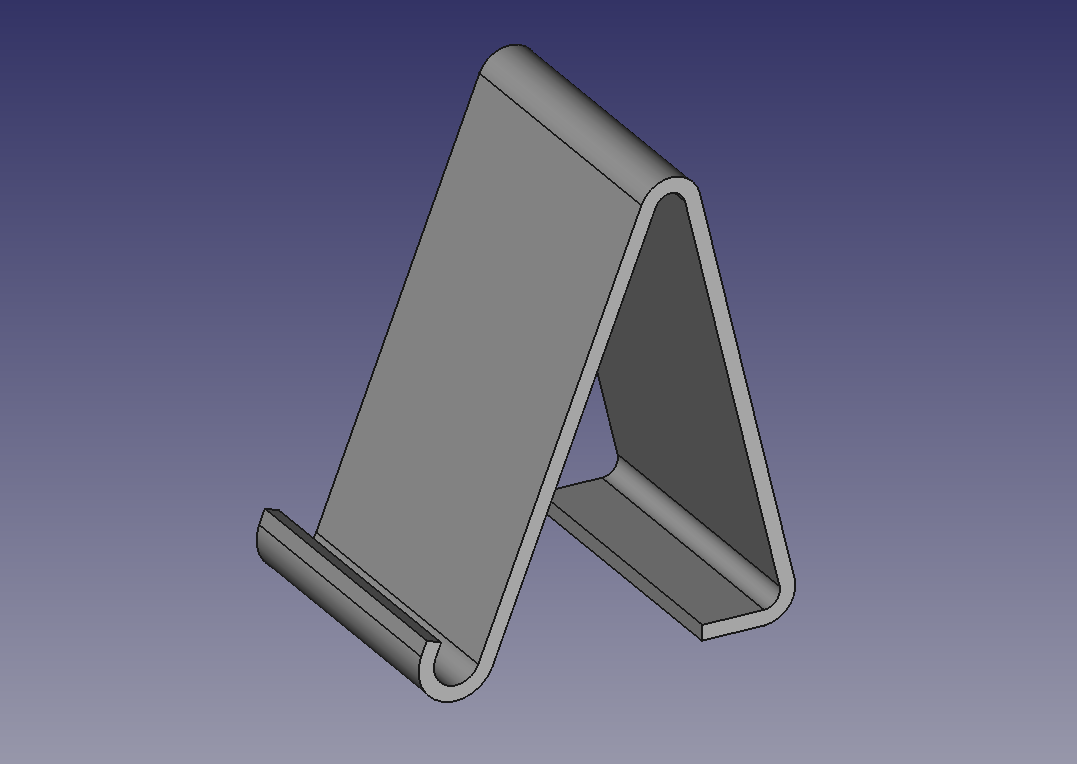
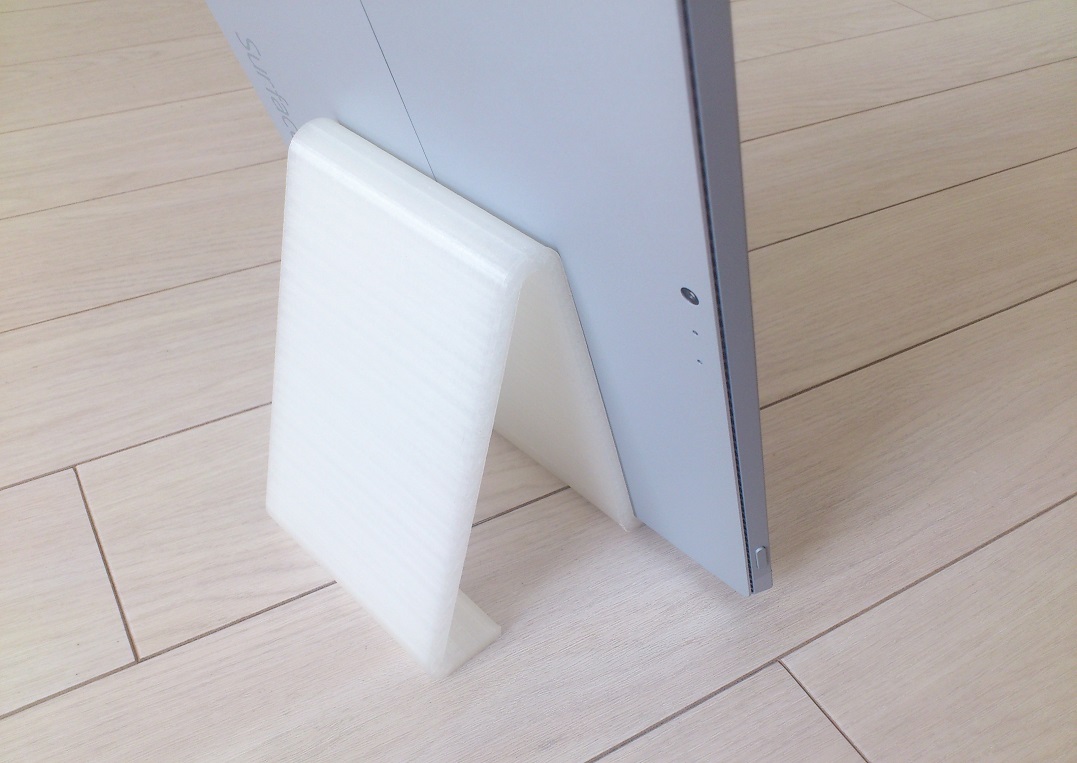
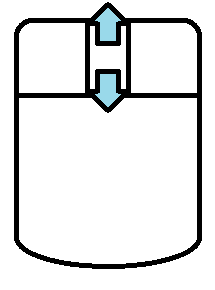
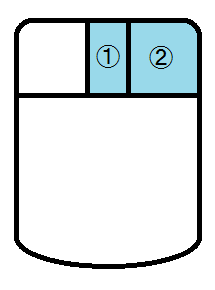
What we will create?: Tablet stand
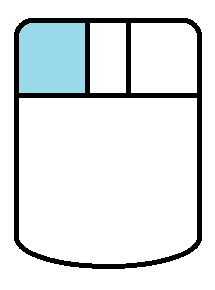
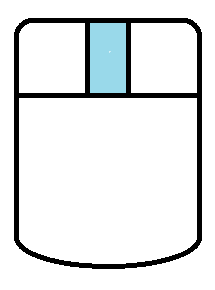
Mouse operation
| Select | Pan | Zoom | Rotate |
|---|---|---|---|
 |
 |
 |
 or or  |
Note: FreeCAD has other modes like Inventor mode, Blender mode and touchpad mode. Please refer to "FreeCAD: Mouse operation setting".
Creating base sketch
-
Creating a new document
Start FreeCAD and create new document
 .
. -
Creating a sketch plane
Switch workbench to Part Design workbench
 .
.create a new sketch plane
 and select XY-Plane in the dialog. Click to create sketch plane.
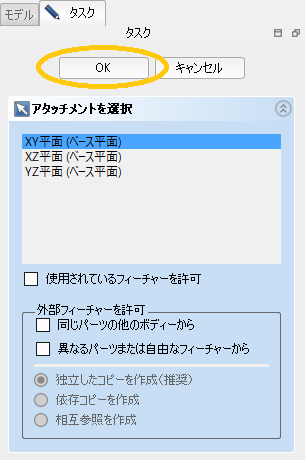
"New sketch plane" dialog -
Drawing a sketch
Select polyline
 and draw a rough sketch. When you have finished drawing, right-click to finish polyline mode.
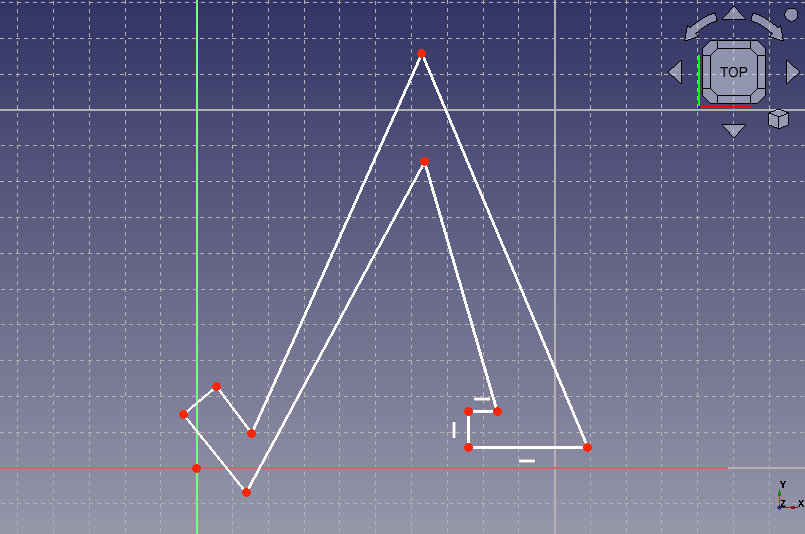
Drawing a rough sketch -
Rounding corners
Select fillet
 and click 2 straight lines making a corner to round it. Round all 3 corners of the sketch.
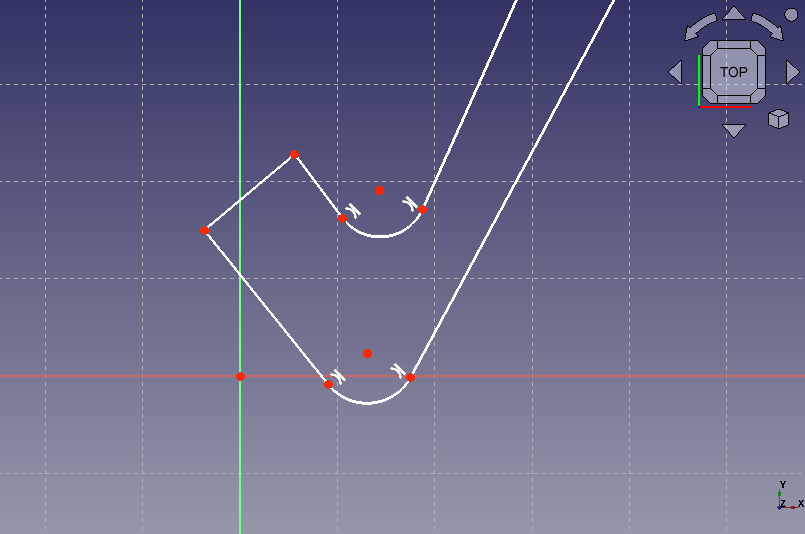
Rounding corners 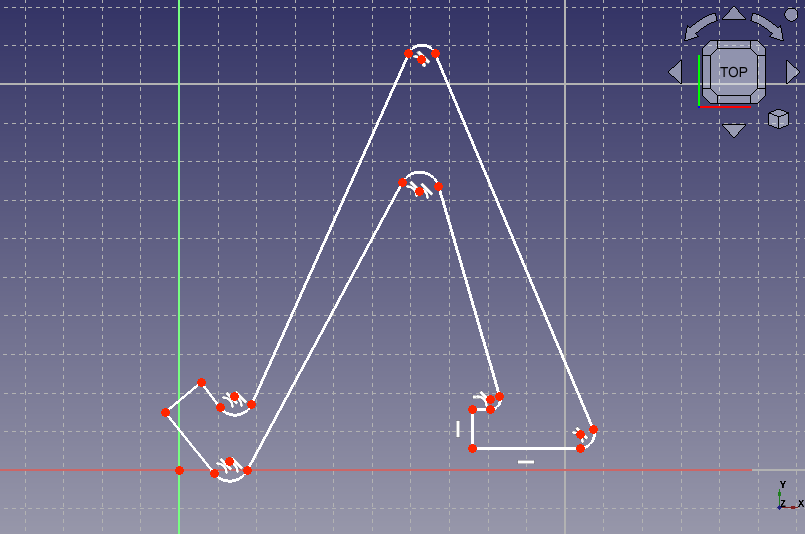
Rounding all 3 corners -
Matching the centers of the rounded corners
Select the centers of the inside-arc and outside-arc and apply coincident constraint
 . If sketch is constrained in wrong shape, you should drag the 2 point closer before constraining. Constrain all centers of corner in the same way. By these constraints, the inside-arc and outside-arc is in parallel.
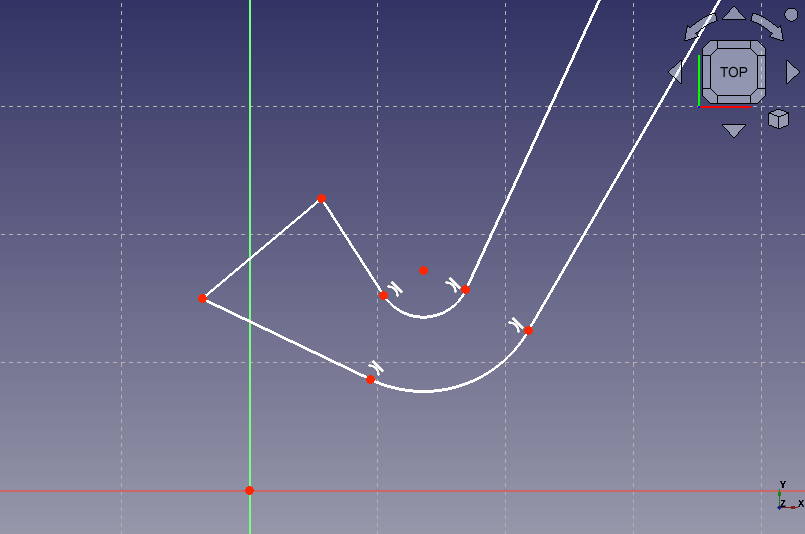
Constraining to inside-arc and outside-arc 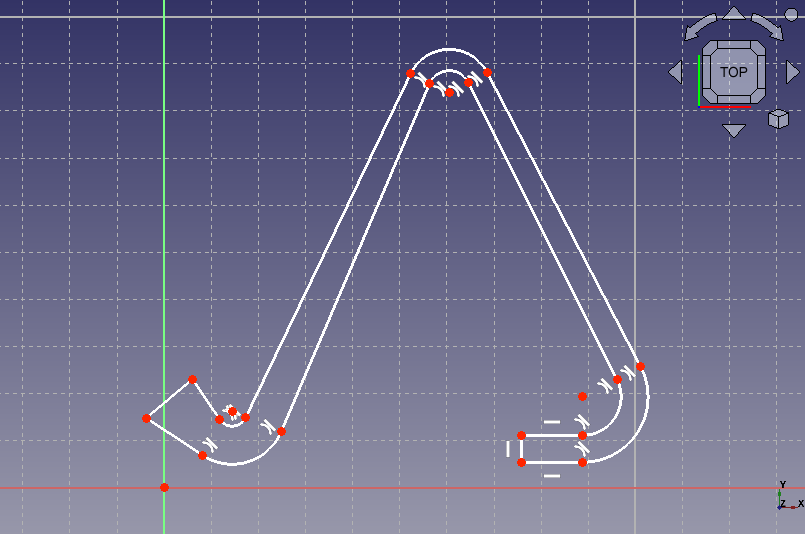
Constraining all 3 corners -
Setting straight lines to be parallel
Select the 2 straight line connecting the corners and apply parallel constraint
 . Constrain all straight sections in same way.
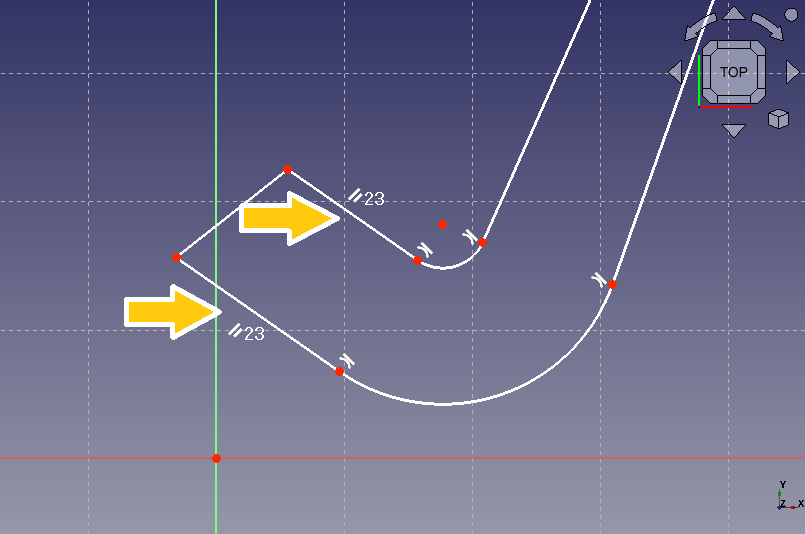
Constrain 2 straight lines to be parallel 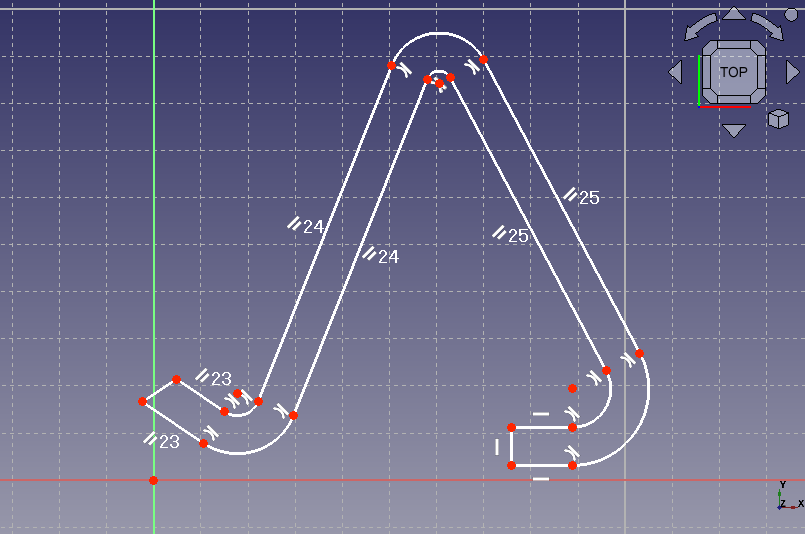
Constrain all straight sections -
Set sketch position
Select the horizontal axis of the sketch plane, the origin of the sketch plane and the outside-arc on left side of the sketch. Then apply tangent constraint
 . The horizontal axis and arc will contact each other at the origin with this operation.
Constrain the sketch to contact the horizontal axis
Next, we will set the dimensions of the sketch.